February 24, 2022

DIY Princess Rainbow Star Crown

DIY Princess Crown rainbow

DIY Princess Crown rainbow

2 things which helped make the Princess Rainbow Star Crown? 
.
|| 1 ||
Pre arranged stars using top portion of headband to help create shape before glue gunning.  

|| 2 ||
Folded over lapping points on the star to “fit” the headband perfectly once glued.

Project details here:
Card-stock (Dark Pink, Pink, Soft Green, Light Purple, Dark Purple)


You can see how I made this for my daughter using these 2 making notes above here, over on Instagram. 

Warmly, Steph


February 18, 2022

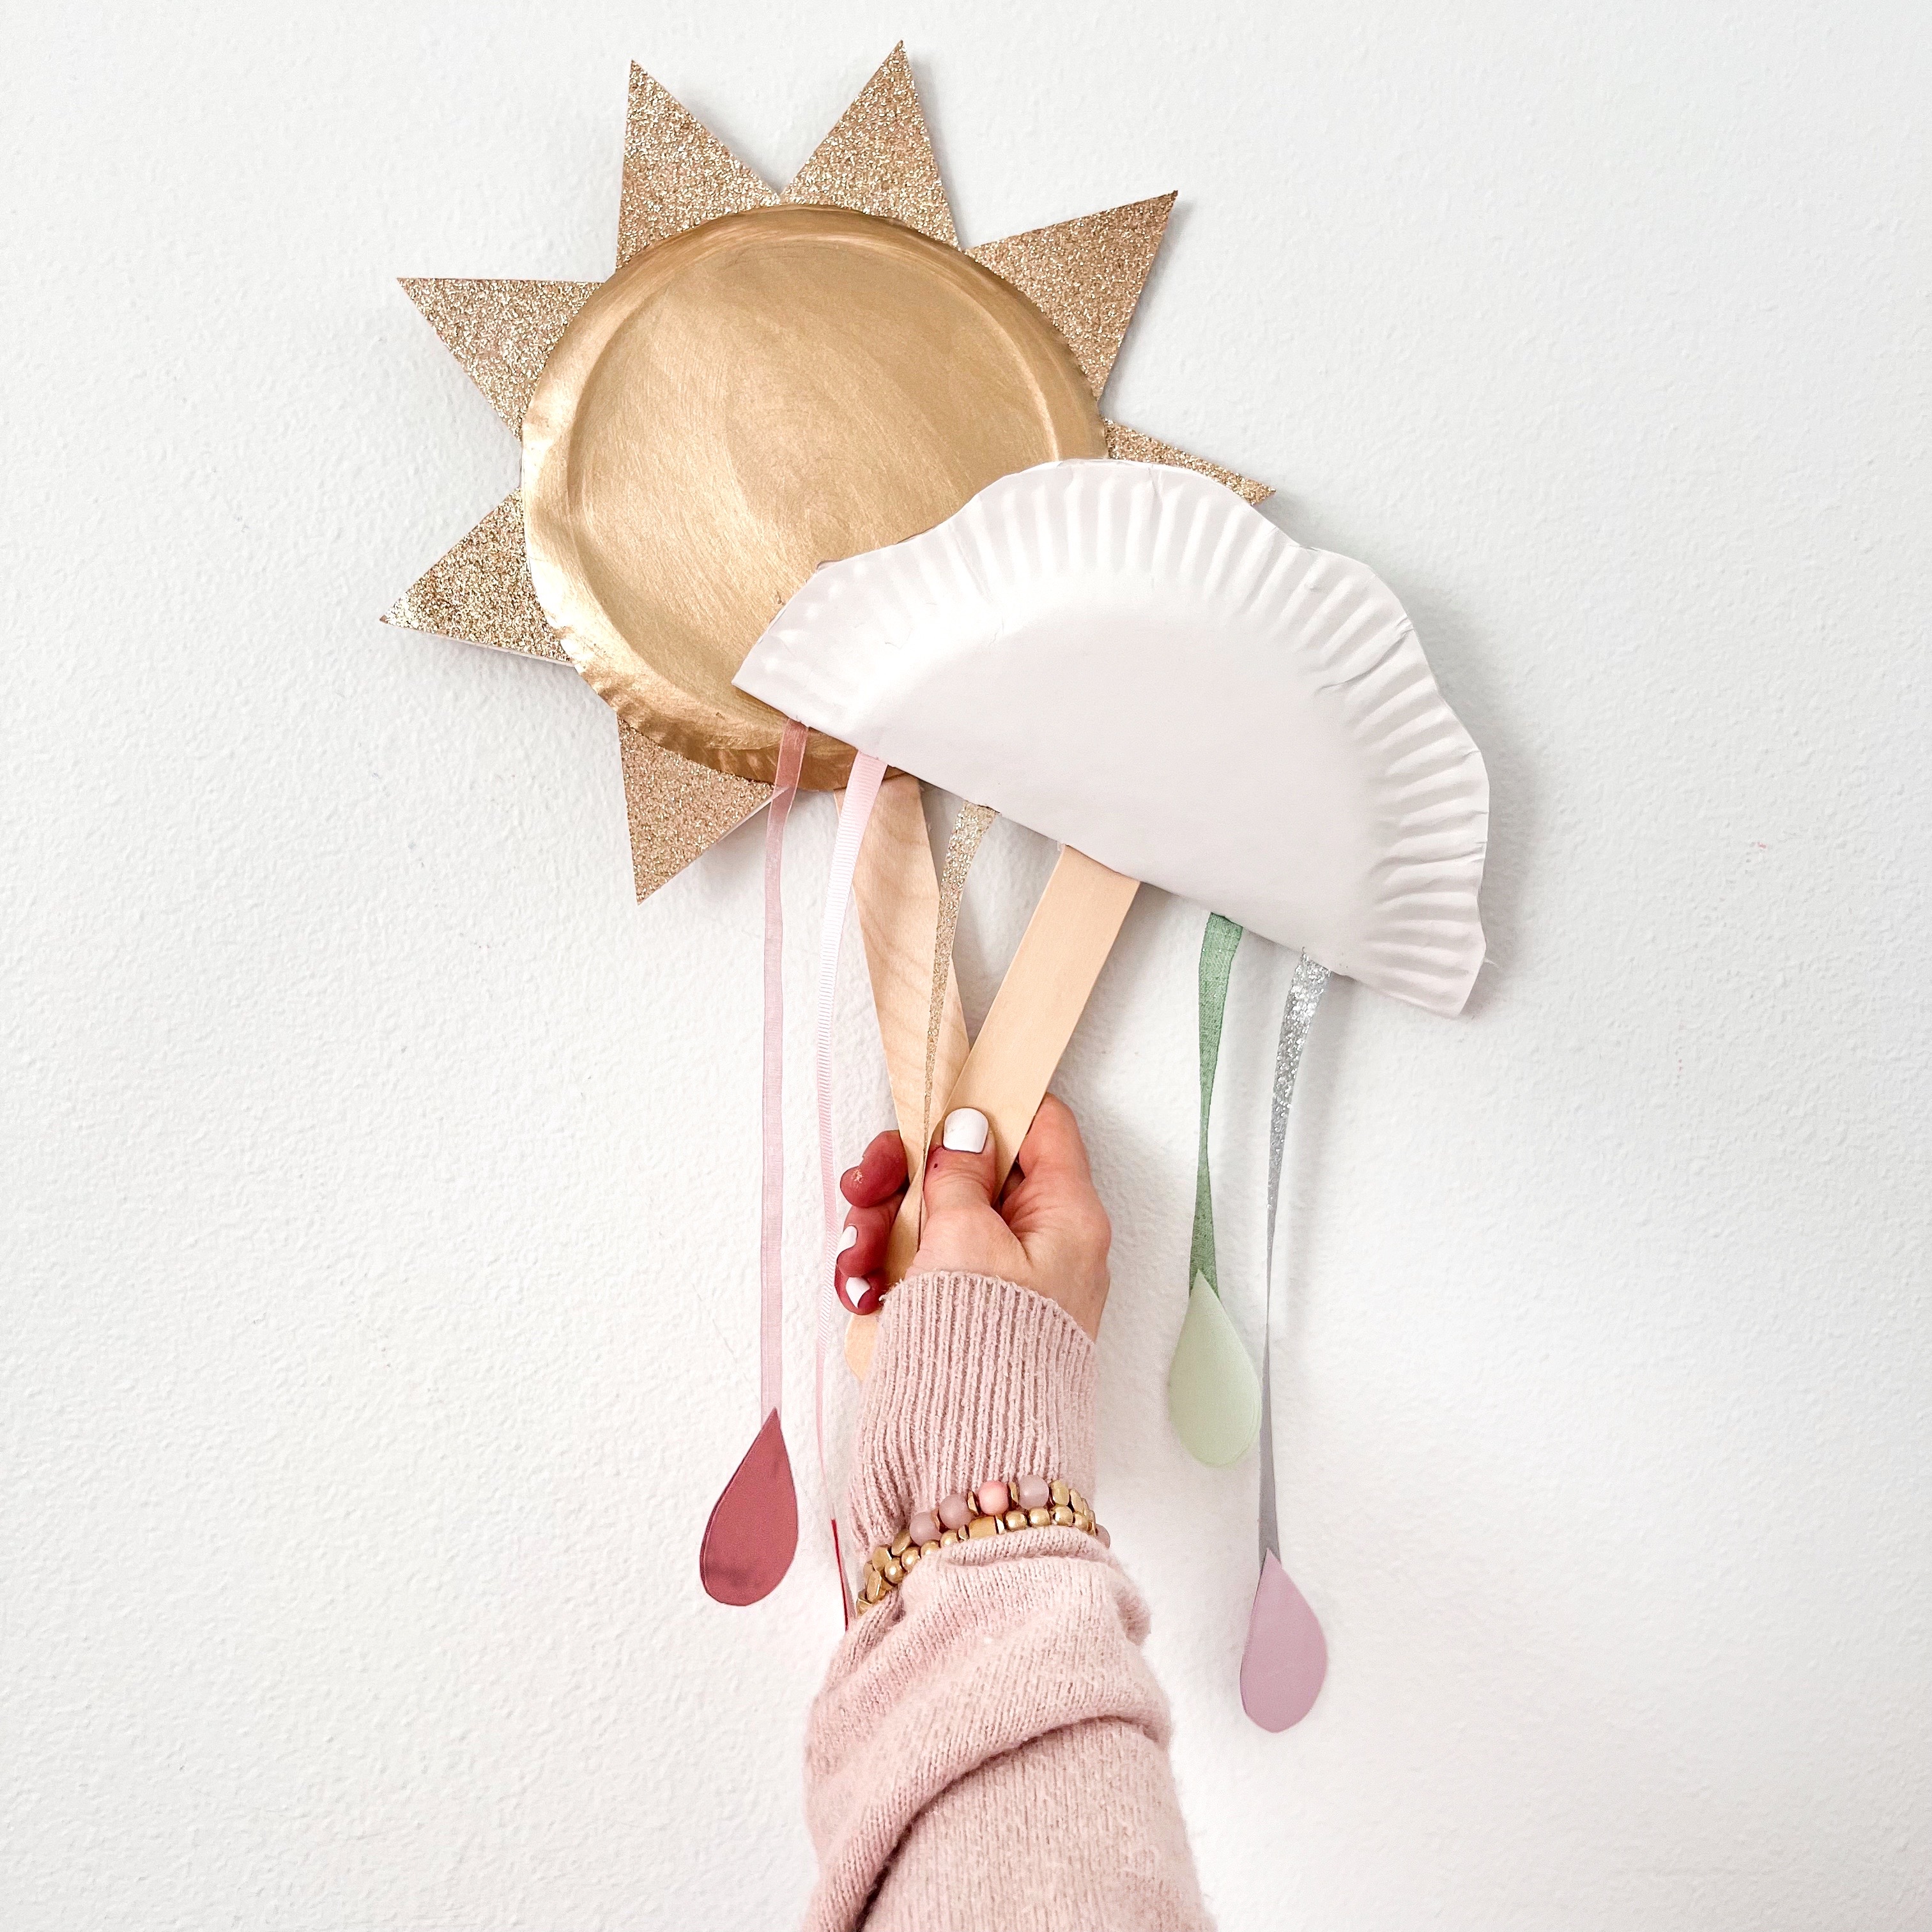
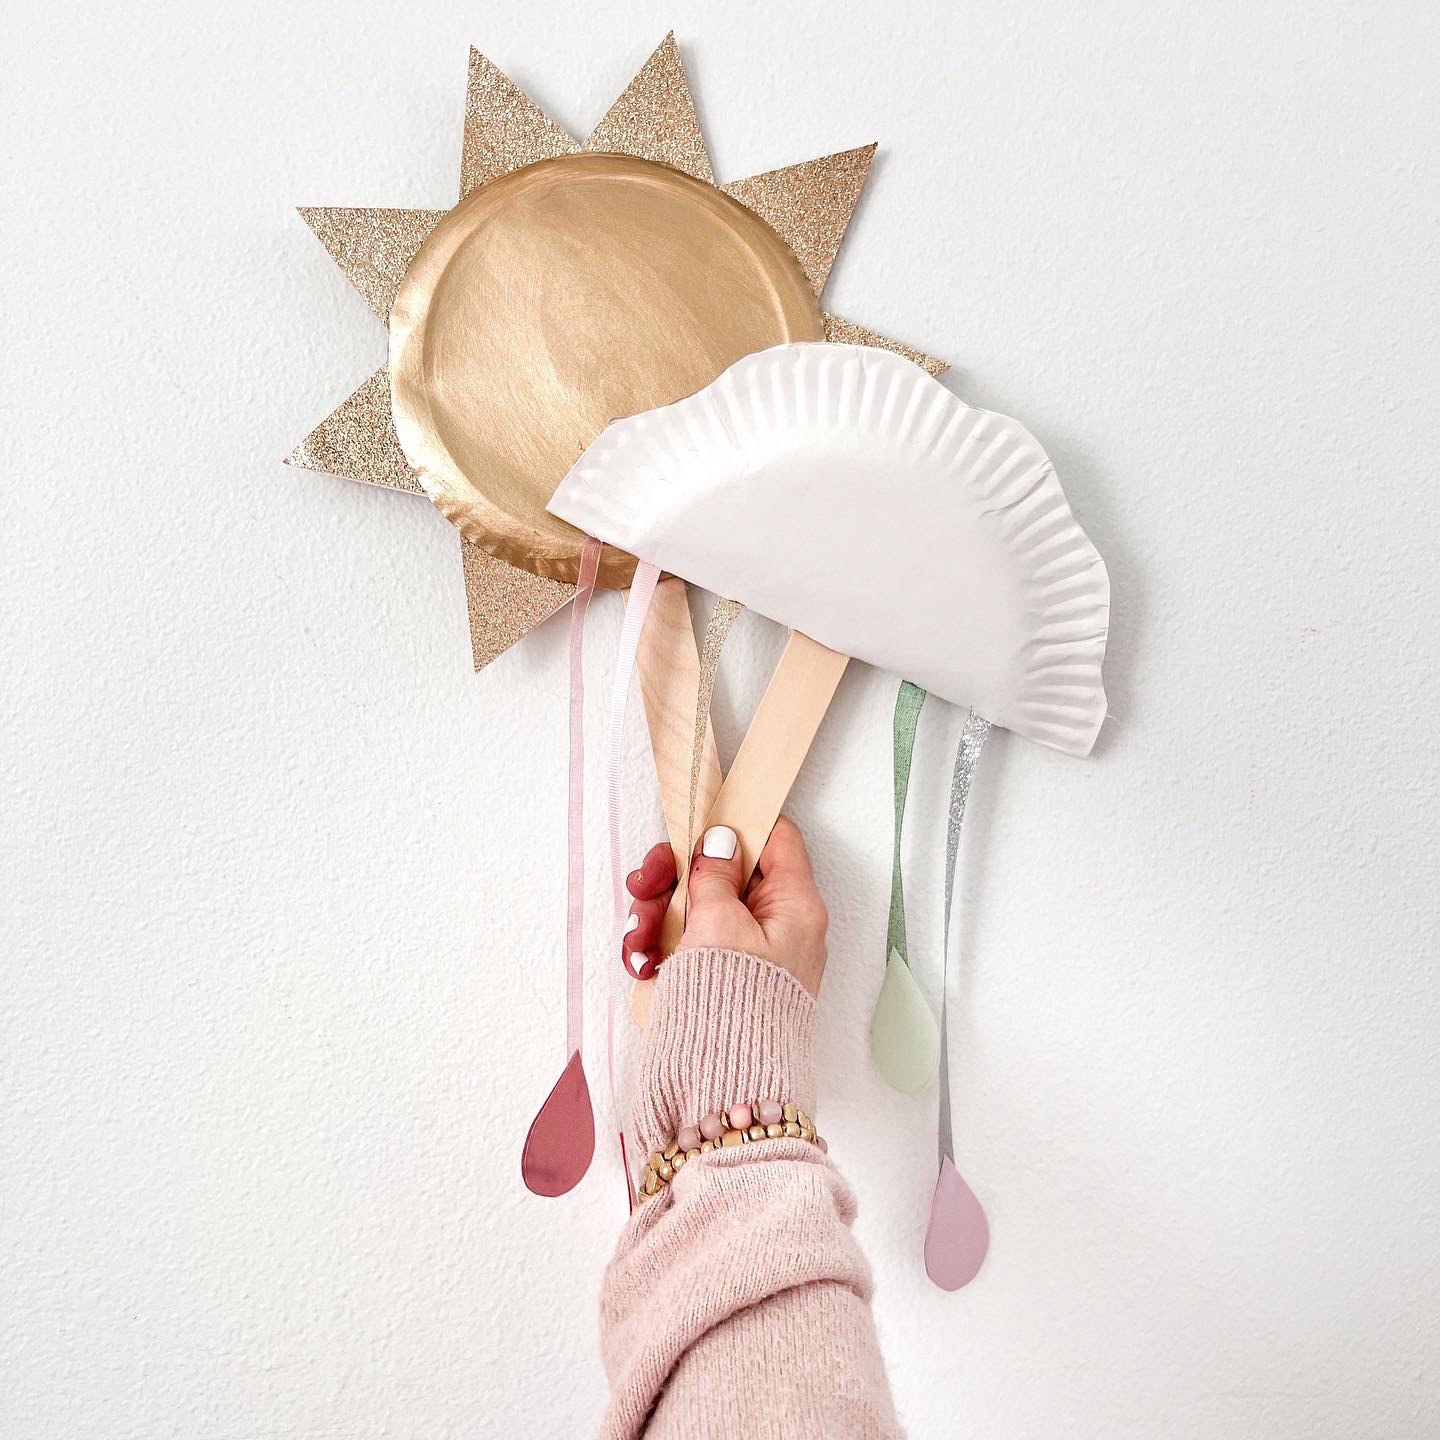
Rainbow RainCloud + Sun Toy Shakers


paper plate crafts for kids
Rainbow RainCloud Shaker


Video demo can be seen here.


Directions:

Folded paper plate in half


Cut wave shape on the ends paper plate

(while folded to make a perfect match)


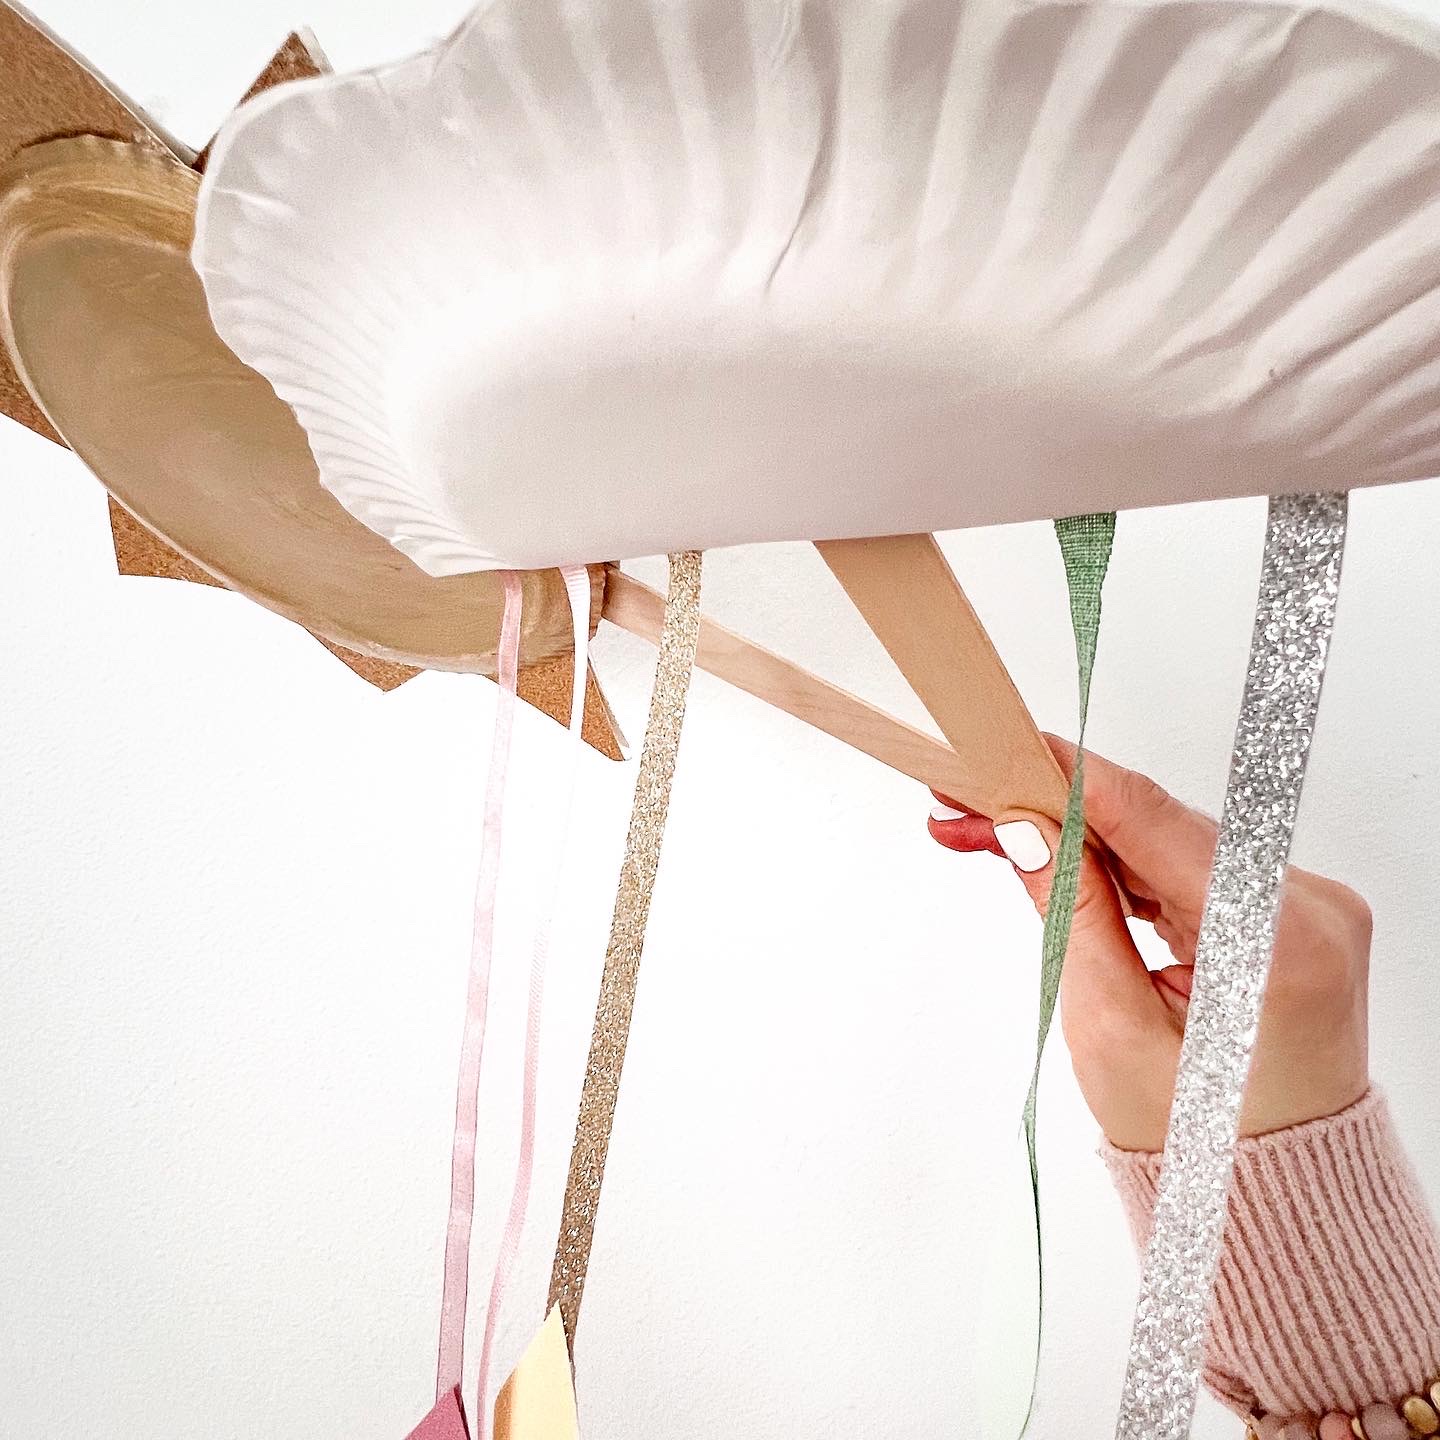
Mark popsicle width by placing popsicle underneath fold section of paper plate.


Mark 2 lines on either side 

(So 4 total with 2 on either side of popsicle)


Cut in on all lines marked


Used pencil to help pull ribbon through 

by wrapping over pencil point


Add uncooked noodles or cereal 


Glue gunned top wave pieces together


Shake for noise + fun!


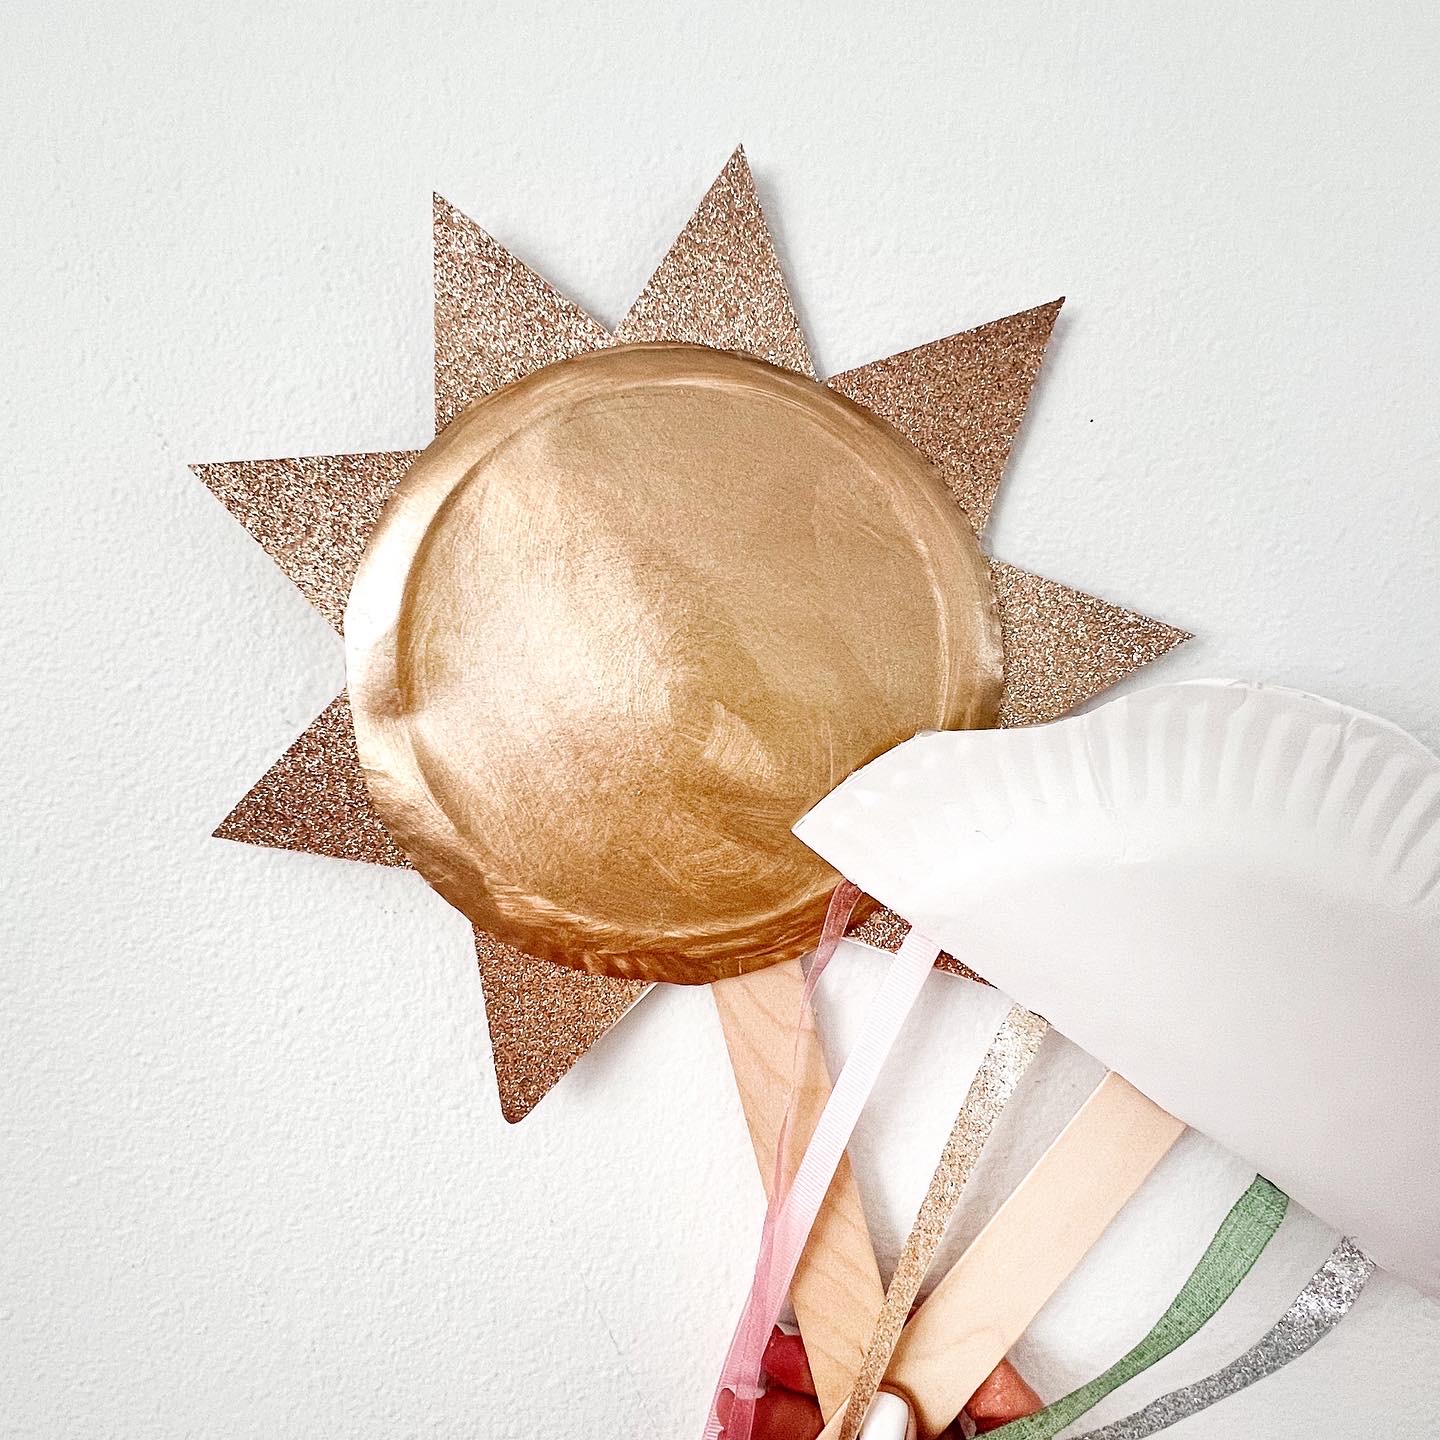
Sun Shaker


Video demo coming to Instagram 2/21


Directions:

Cut off waffle section of paper plate


Paint “pop out” side of paper plate gold. Let dry


Glue gun popsicle to middle of paper plate

 (non gold painted side)


Cut 12 triangle shapes (about 2 inches WxD)  


Glue gun triangles to end of paper plate, 

(leaving popsicle clear of any triangles)


Add uncooked noddles or cereal to paper plate 


Glue gun the two paper plate painted pieces together (with gold painted part facing out)

Shake for noise + fun!


If you liked this craft, you might like the Mini Maker Design Co rainbow craft kits coming out this week 2/22 5pm PST seen here.

February 8, 2022

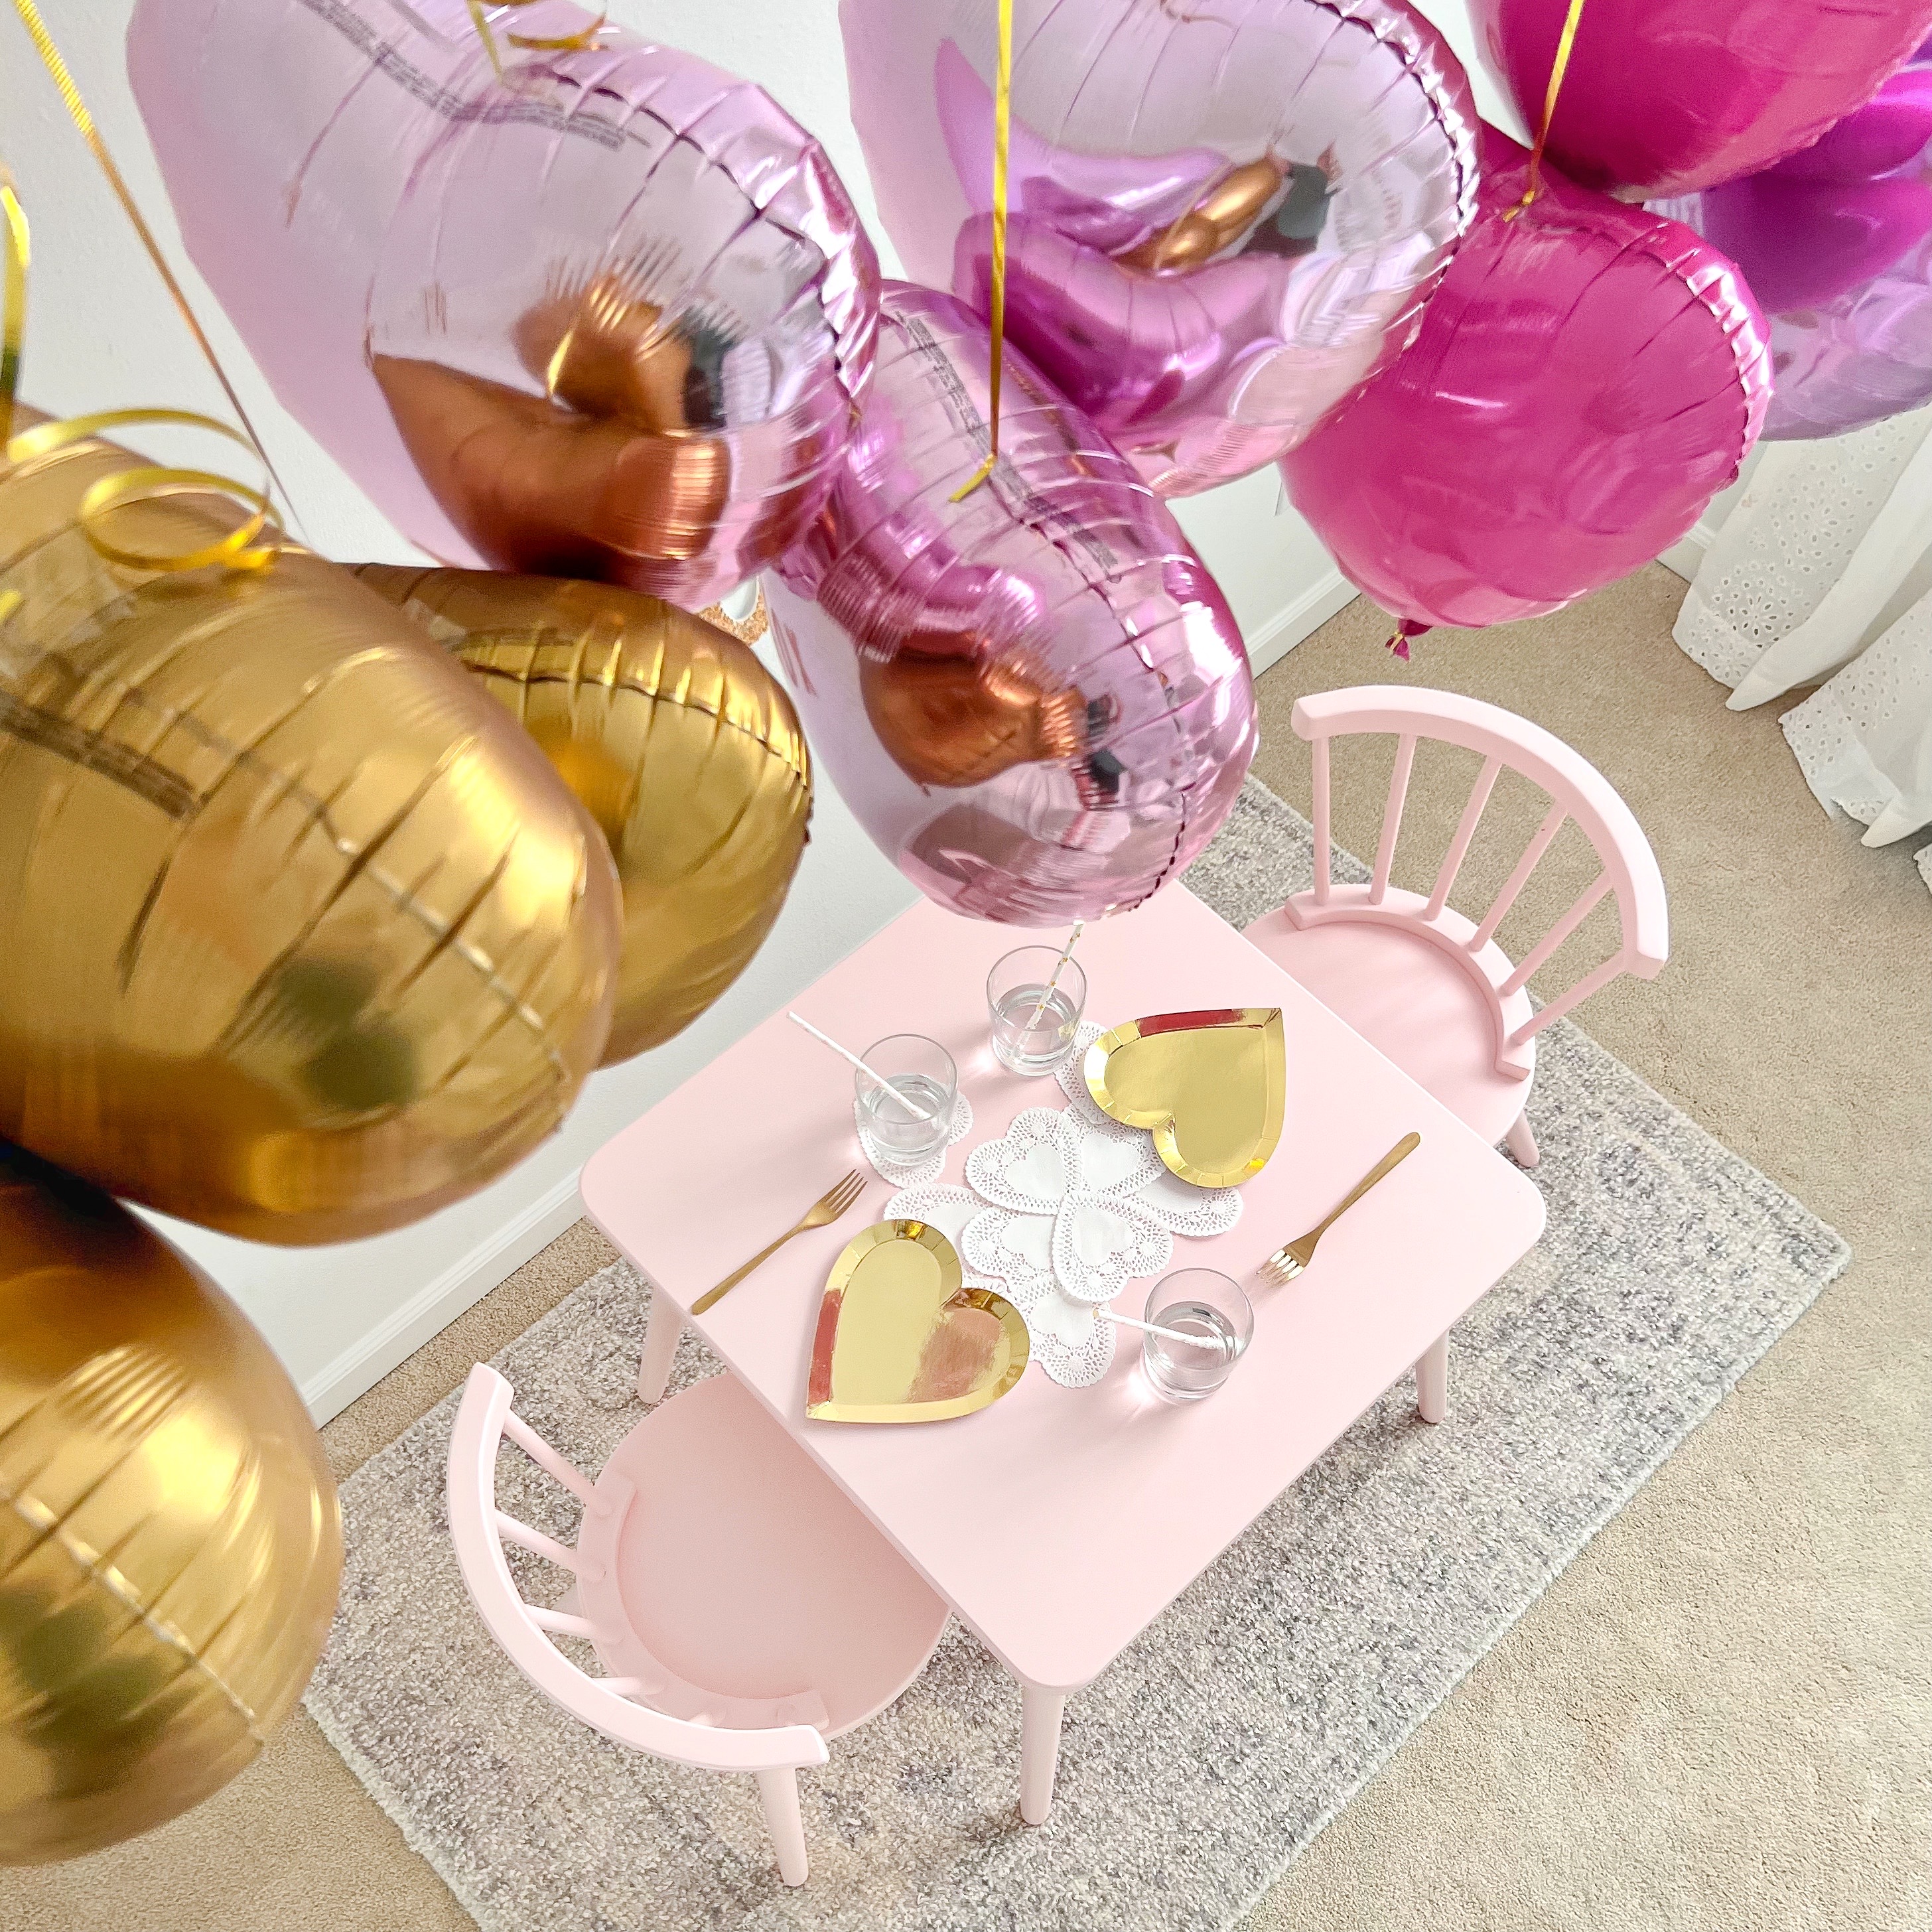
Daddy-Daughter Brunch || DIY Heart Chandelier


DIY Mini Heart Chandelier for this years Daddy-Daughter Valentine Brunch tradition!! (Year 5! + I can’t believe it!! Although the photo pose wasn’t started until 4 years ago, any time is a great time to start making traditions + having fun as a mom with your family : )
.
This DIY heart balloon chandelier is very similar to the star chandelier I created for the girls Birthday last June (tutorial can be found here) except half the size + required a ladder since the girls table and chair set was so much 
shorter than our dining room table. Everything is resourced below.

All Heart Balloons - Party City

Air Pump (blow up balloons)

Emma’s Dress

Emma’s Shoes

Gold heart plates sold out (similar here)

Then if you like this years setup, last years 2021 focus was more on the table decor setup which you can see here. 

Then click on each year below for more fun ways you too can start a Daddy-Daughter Valentine brunch tradition ( as well see our my style + photography has evolved) 

2018 year 1

2019 year 2

2020 year 3

2021 year 4

2022 full photo shoot w/girls still being edited 

(update on here soon!

February 2, 2022

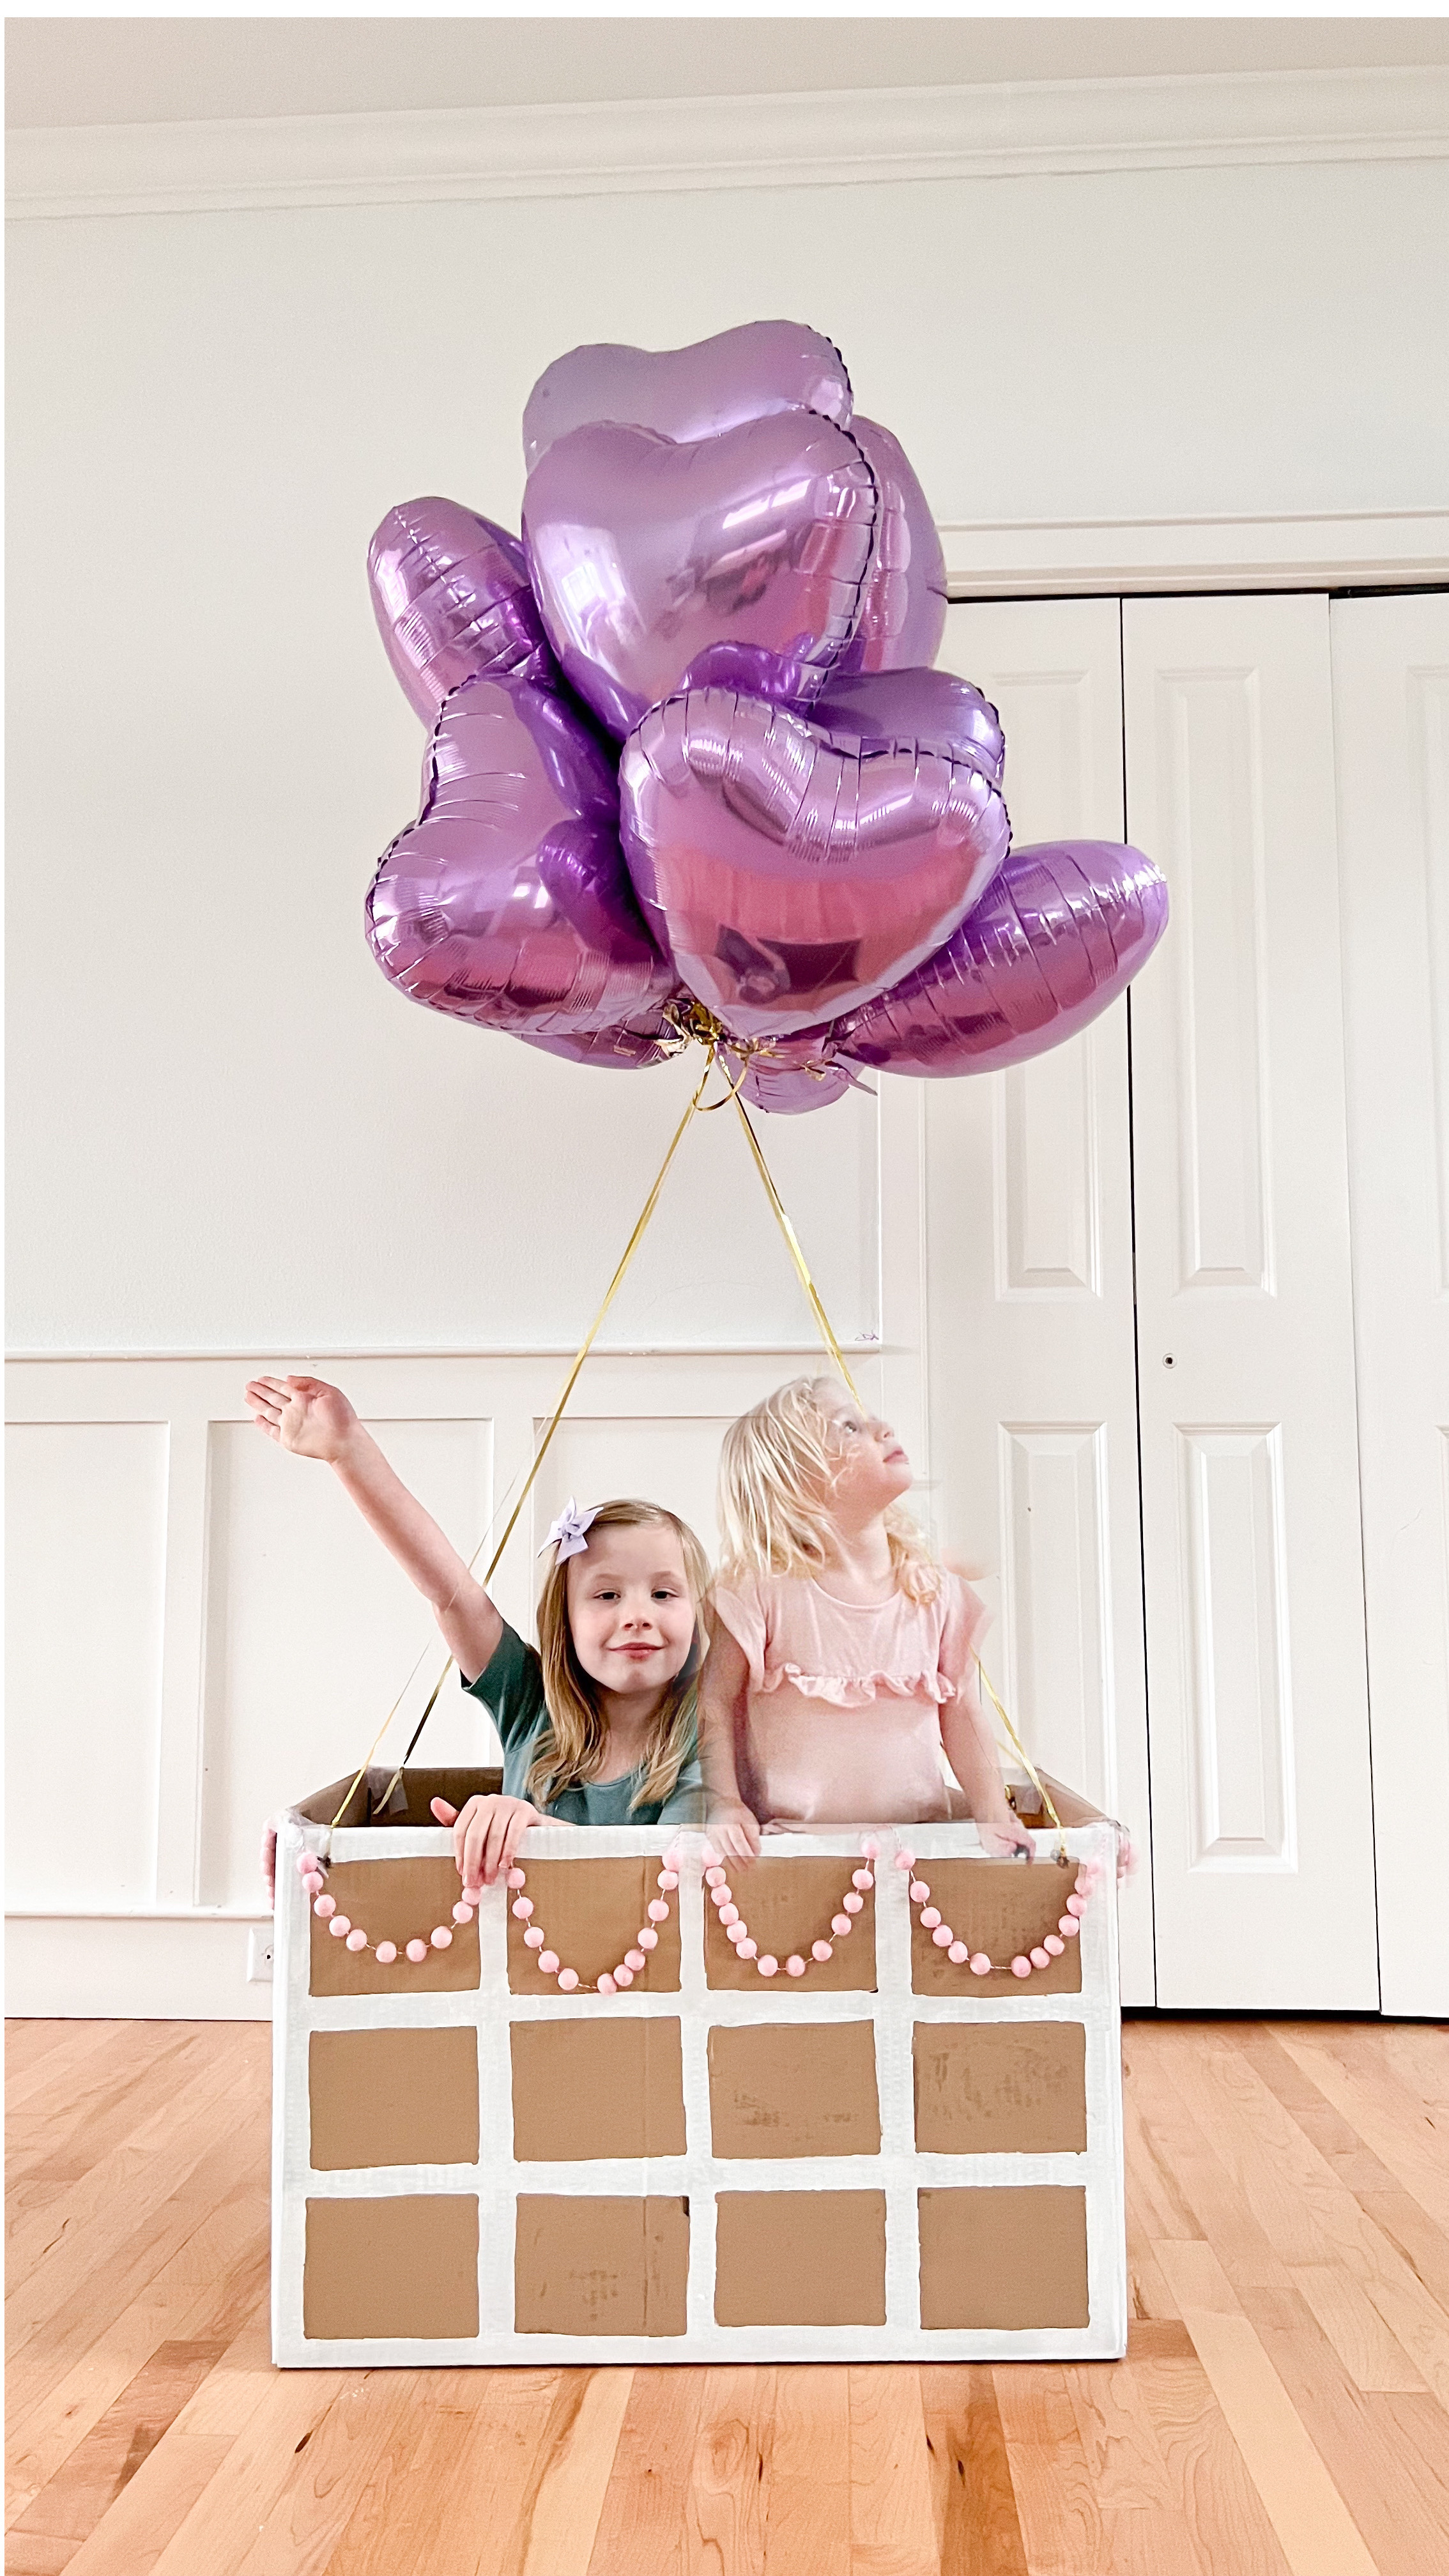
DIY Valentine Photo Idea


 DIY Valentine Photo gift for Dad/Grandparents/or yourself!😉by turning a cardboard box inside out (once again over here) in making a littles photo shoot turn into art + play! + yes at the end a little pull in the cardboard basket box was in order to really let them feel the “floating affect” + thus gave us smiles for the picture + supplies? What we used exactly is listed below!


Card Stock
(left over from MMDC craft kits?!)
Curling Ribbon
Helium Tank
Oh Craft knife 
(or something close to it at home)


MINI MAKER NOTE: 
My 5 year could help paint over the squares + depending on your littles fine motor skills they could also help fold + cut the squares.


MAKING NOTE: 
If you look closely, we added on this pink garland up front to really make the box look like a “hot air balloon basket.” 


Up next is our Daddy-Daughter brunch tradition! I’ll start showing a bit of it on Saturday as I’m setting up!!

 Warmly, Steph